In this example I want to show show incredible easy it is to publish an internal application to the internet, using the Application Proxy feature in Azure Active Directory.
What is the Application Proxy?
Simply put. Azure Active Directory Application Proxy is a small service running on a Windows Server in your LAN, and creates a secure channel back to Microsoft Azure. From there, the service is made publicly available from a url based on the application name you choose, either using HTTP or HTTPS. The result is that you can make any web application available without advanced infrastructure at your side, and the best thing: You don’t need a public, static IP address!
If you don’t have a Azure Subscription today, you could sign up for a free trial at http://azure.microsoft.com/en-us/pricing/free-trial/.
Requirements
- Windows Server 2012 R2
- The server must be able to connect to the internet, and a list of outbound ports must be open in your firewall
| Port Number |
Description |
| 20200 – 20204 |
To enable long poll requests originated from the connector towards the Azure service |
| 10100 – 10104 |
To enable LOB HTTP responses sent back to the proxy |
| 8080 |
To enable the connector bootstrap sequence |
| 9090 |
To enable connector registration |
Enable the Application Proxy service in Azure AD
This is a two step process. First we need to click a magic button that enables Application Proxy for your Azure AD tenant. Step two is to install the connector on a Windows Serve running in your network.
Step one: Sign in and activate Application Proxy
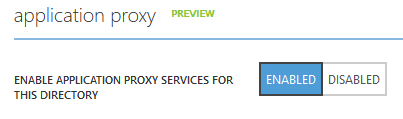
Sign in to the Azure Management Portal at https://manage.windowsazure.com. From there, access the configuration tab for the Azure Active Directory you want to use. Around the middle of the page, you have a setting named application proxy. This setting has a button named Enabled. Click it, and then save the configuration.
That’s all we need to do with the directory at this time. Next step then.
Step two: Install the connector
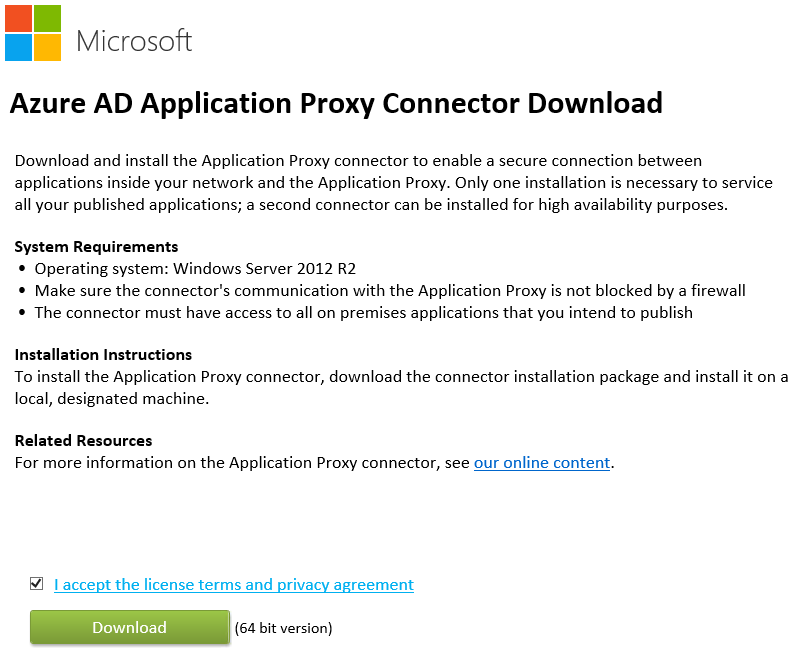
Sign in to the Windows Server you want to use as a Application Proxy, and download the Application Proxy Connector. When done downloading, click Run.
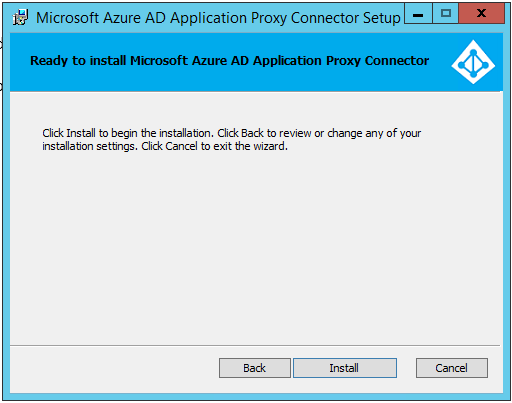
On the Welcome page, simply click Next, and that’s all the configuration you need to do before starting the installation. So click Install. It should be over in seconds.
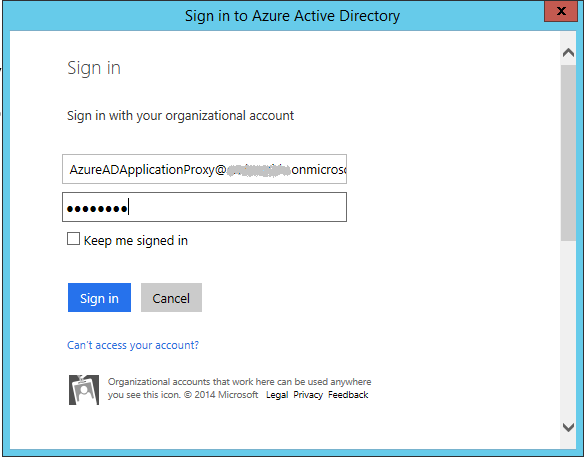
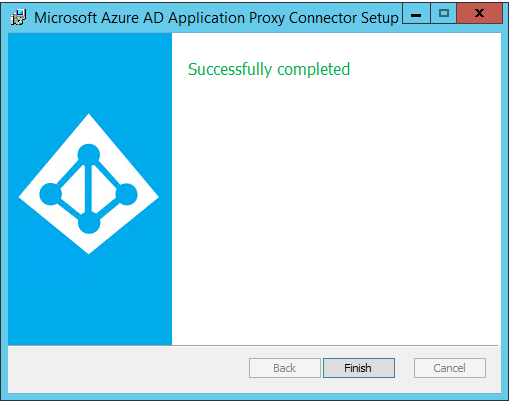
Then you need to sign in using a Global Administrator account. Last time I did this, using a MFA enabled account it failed (Just so you’re not troubleshooting this again).
A few seconds later, it’s ready. Now, we can publish applications.
Publishing the intranet application
OK, it’s time to make the web application available to the internet.
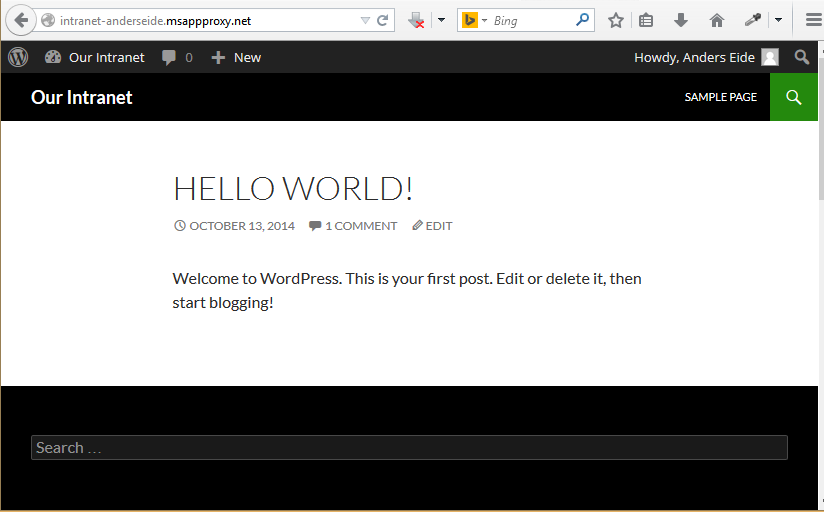
The web application in this case is a password protected WordPress installation, running as an intranet application with the URL http://intranet/. Since I’m no IIS and URL Rewrite master, I’m going the easy way with this one, and just publish the internal application with the same name that we get from the msappproxy.net. This way, everything within the WordPress world works afterwards.
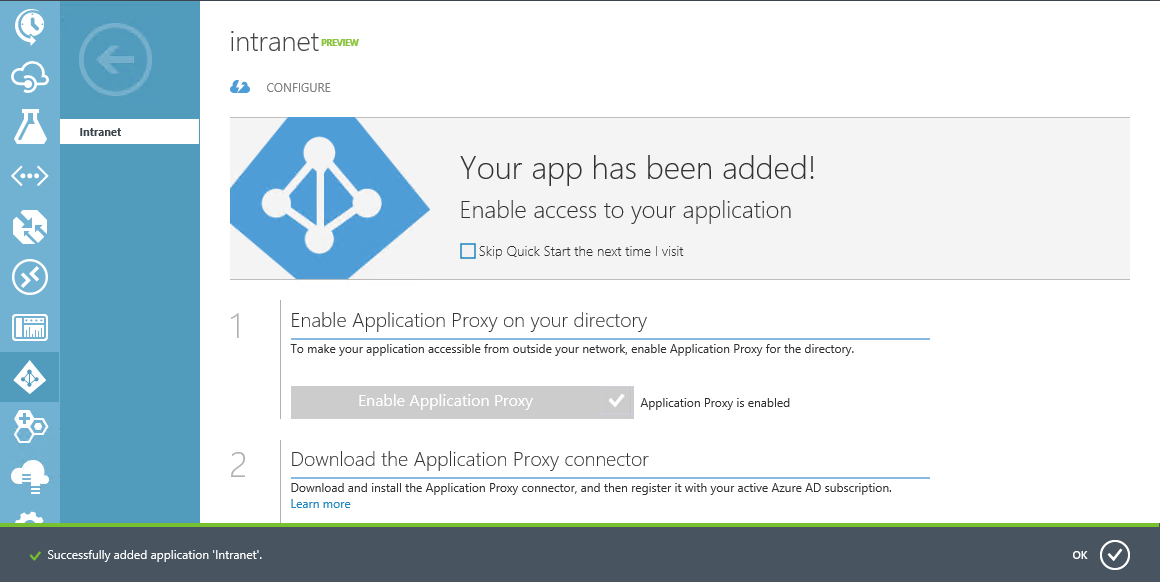
Back in the Azure Management Portal open the Applications tab of your Azure AD. At he bottom of the page, you have a add button. Click it, and in the popup, click Publish an application that will be accessible from outside your network
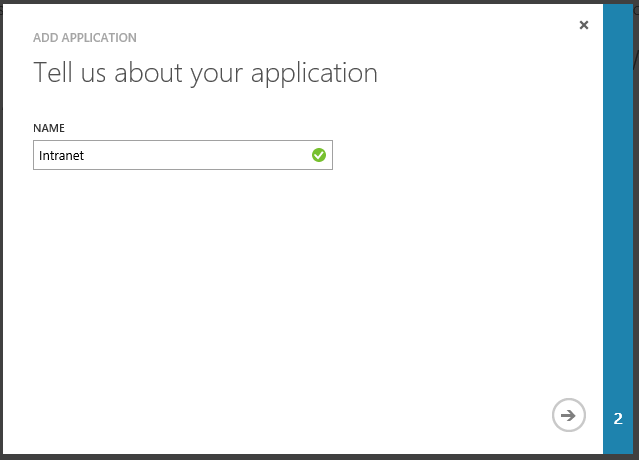
The first task is to name our application. Name it smart, cause the name is used to generate a URL for your application.
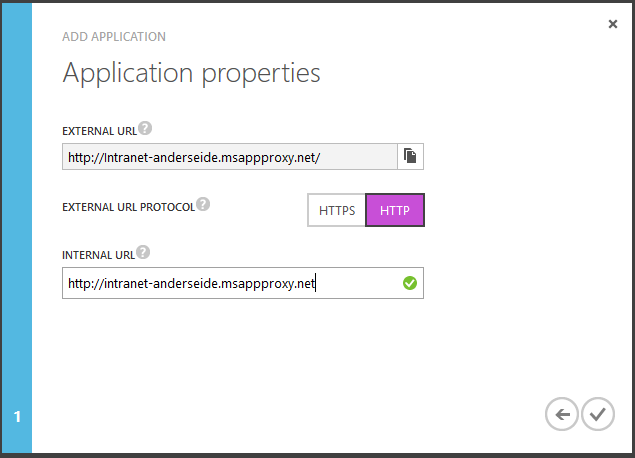
The next task is to configure the internal URL, click the confirm button. In this case, I published it using HTTP, since I had some issues with the WordPress Admin page when using HTTPS and URL Rewrite in IIS. If you know how I could solve that one, feel free to leave a comment. In a production environment I would never recommend anyone to publish their intranet using HTTP.
We are done configuring the proxy application!
The next step is to configure WordPress, and add a record on the application proxy server so the URLs are published correctly.
To solve this you need to do 3 things
- Sign in to the server hosting the Application Proxy and add a record in the hosts file, pointing the new external url to the web server running WordPress.
- At the WordPress server, change the binding in IIS to accept the new hostname.
- In the WordPress Admin Center, go to the Settings -> General page, and change WordPress Address and Site Address to the new external address
Refresh your browser, and would you look at that! It works 🙂
Resources for you to continue on your own?